Silicone sealants are used for a variety of purposes – from major construction projects to simple home fixes. Knowing how to properly caulk with silicone sealant can save you a lot of problems in the long-term because when done correctly, it requires very little maintenance or repairs.
In this article, we will give you a step-by-step guide to applying silicone sealant perfectly in a structural glazing application to ensure a smooth finish that will last for years to come.

Proper surface preparation is extremely important to the longevity and performance of silicone sealants. Cleaning is the first step to ensuring that you have a dirt-free, dust-free, oil-free, and optimal substrate for the sealant to develop adhesion to.
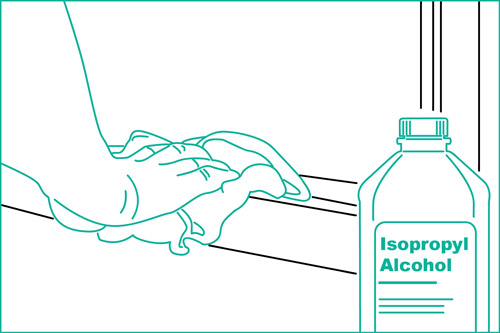
Cleaning with Isopropyl Alcohol (IPA)
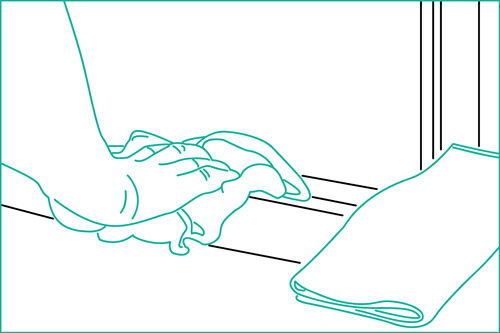
Dry cloth cleaning
Caution:
Primers promote strong and consistent adhesion of the silicone sealant to the substrates to which it may otherwise be difficult to bond. If required to use primers in structural glazing applications, we recommend following these few steps:

Priming with Silicone Metal Primer
Caution:
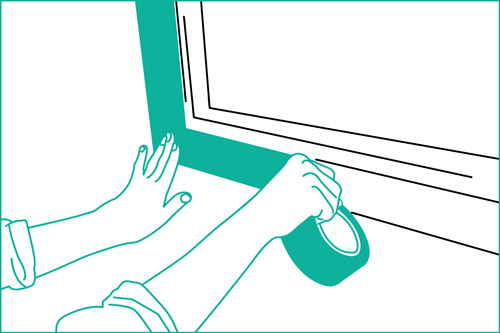
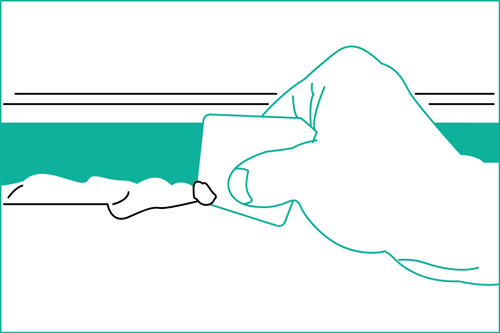
Masking with tape
To ensure a neat sealant sight line, masking tape is commonly used to outline the joint to be sealed. This reduces sealant smears, which are often found aesthetically unacceptable.
After joint is verified to be clean, dry, and free of contaminants, primer has been applied (if necessary), and the backing material has been properly installed, the application of silicone sealant may begin.
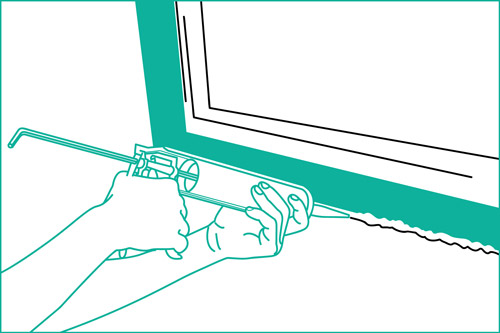
Sealant application, gunning the product
Tooling the sealant
Caution:
Tremco CPG makes the process of selecting and installing the right sealant simple and efficient. We offer a variety of tested, proven transition solutions that can accommodate any design, from standardised to highly specialised. All our weatherproofing products provide the highest performance in adhesion, weatherability and durability to guarantee a safe and leak-free building. Our expert team are on hand to help you in any current or upcoming project you may have, do get in touch with the team.
 |
Need Support? |
 Sealants, Glazing and Façades
Understanding Wind Load And Its Effect on Structural Glazing
Sealants, Glazing and Façades
Understanding Wind Load And Its Effect on Structural Glazing
Looking back just half a century ago, no one would believe that a building, let alone a skyscraper could be constructed using frameless glass as its entire façade. Now, modern architectural...

Sign up for our newsletter

